Jump to Reach the Sky Brainrots Tier List
S/A/B/C climb priority by rarity feel, height requirement, and progression value.
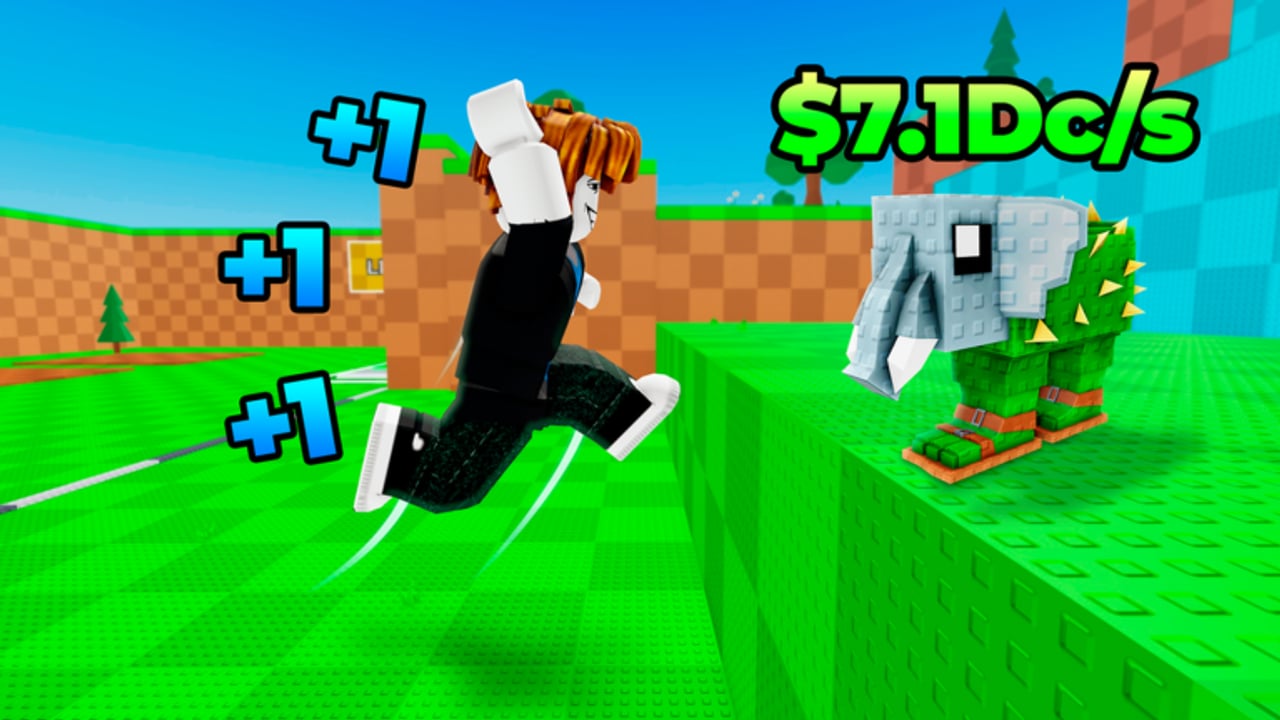
Rare Brainrots are the headline loot of the upper sky in +1 Jump to Reach the Sky! They sit behind height gates, so a Brainrot tier list is really a climb priority list: what is worth aiming your session toward, what is fine as a lucky pickup, and what you should ignore until Jump Power and Weights catch up. This page uses an S / A / B / C framework. It is deliberately honest about limits—exact drop tables, spawn weights, and area mixes change with updates, and public patch notes do not always spell out percentages. Use the tiers as decision aids, then verify live behavior after every major content drop.
For mechanic context, read Brainrots alongside Weights and power. If you are still unlocking first platforms, park this page and follow Early-game priority first. Farming ultra-rares you cannot reach is not a strategy; it is standing still.
Honesty upfront: what we will not fake
We will not invent named Brainrot drop rates, secret percentage tables, or guaranteed farm routes that the live game does not document. What stays true across patches:
- Higher areas skew toward rarer finds.
- Jump Power (+1 per jump) and Weights decide whether you can stay in those areas.
- Offline income keeps the account moving, but it does not replace a focused climb session when you are hunting high-band loot.
- Timed Power/Money codes change how hard you can push a ledge during a short window; they do not spawn Brainrots by themselves.
When an update retunes spawns, re-label individual finds inside the same S–C buckets rather than throwing out the framework.
Tier framework
S-tier — session magnets
Definition: Finds that justify planning a whole login around height access. They usually combine high rarity feel, strong progression or income impact, and a clear height requirement that separates dedicated climbers from casual hoppers.
Play pattern: Warm up Jump Power with volume, buy Weights that keep cadence stable, redeem a Power code only when you are about to contest the gate ledge, then camp the high band long enough for attempts—not one lucky peek. If the server’s six slots are crowded on the same platform, shift timing or angle rather than burning the whole timer in a traffic jam.
Priority rule: If you can already hold the required height band, S-tier targets beat random mid-map hopping.
A-tier — strong climb payoffs
Definition: High value when found, slightly less session-defining than S. Often appear a band or two below the absolute top, or trade a bit of rarity for more consistent appearance.
Play pattern: Fold A-tier hunting into a normal height push. Do not skip Weight upgrades or offline-cash banking just to stand AFK on one pad. If an A find drops while you were pushing for S access, take the win and decide whether to cash progression or keep climbing.
Priority rule: A-tier is the backbone of “good sessions” when S spawns are dry.
B-tier — useful, not destiny
Definition: Meaningful for early-to-mid accounts or as fillers while you learn a new height band. Help income or collection goals without rewriting your climb plan.
Play pattern: Pick them up when they appear on the way. Do not spend Power codes exclusively for B-tier camps unless you are one ledge from a breakthrough and the find is incidental.
Priority rule: B-tier rewards exploration; they should not stall Weight purchases.
C-tier — low urgency
Definition: Common or low-impact finds relative to your current height. Fine for completionists, weak as a reason to delay Jump Power volume.
Play pattern: Collect while jumping. Never rearrange a breakthrough plan for C-tier alone.
Priority rule: If a C find is all that appears after a long camp, relocate or go back to jump spam and Weights.
Mapping tiers to height and rarity (without fake tables)
Think in bands, not mythical coordinates:
- Low band — Tutorial-adjacent platforms. Brainrots here skew common (C, some B). Your real S-tier actions are codes, jumps, and first Weights—see Early-game priority.
- Mid band — Stable multi-jump routes. Mix of B and A. Good place to practice boost timing without wasting timers on unreachable S camps.
- High band — Sticky ledges, rarer silhouettes, longer falls if you miss. A and S concentration rises. Bring Weights that keep rhythm; read Weights and power before blaming RNG.
Rarity labels in-game (or community nicknames) should slot into S–C by impact on your climb, not by hype alone. A “rare” that does nothing for income or height is A-tier hype and C-tier priority until a patch changes its effect.
Practical climb priority advice
Before you can hold mid band: Ignore S camps. Follow early-game order: codes, jump volume, Weights, first platforms. Link out from Getting Started if you still need the day-one loop.
When mid band is comfortable: Start tagging A-tier opportunities. Use Money boosts to fund Weights; use Power boosts to clear the next sticky ledge, not to flex on empty air.
When high band is reachable: Schedule shorter, focused hunts. Six-player servers mean contested pads—arrive with Jump Power already warmed, not cold from the lobby. Pair offline income cash-ins with Weight buys so each hunt starts stronger than the last.
After every update: Re-walk one mid and one high route. If spawn density feels different, slide specific finds between A and S (or B and A) without rewriting your whole brain. Keep notes in your own head: “this pad wasted two Power codes” is better data than a rumor spreadsheet.
How this pairs with other wiki pages
- Brainrots — what they are, why height matters, how they fit the loop.
- Weights and power — the engine that makes high-band camping possible.
- Early-game priority — what to do before this tier list matters.
- Tier List Hub — early vs late philosophy for the whole climb.
- Codes — ABX redemption for timed Power and Money tools.
Anti-patterns to avoid
- Camping high pads with raw Jump Power too low to recover from misses.
- Burning stacked Power codes on low band “warmups.”
- Treating every shiny silhouette as S-tier without checking progression value.
- Ignoring offline income, then wondering why Weight purchases stall between hunts.
- Copying someone else’s tier screenshot from a different patch week.
Stay flexible, stay honest, and let height access—not hype—decide your letter grades.
Frequently Asked Questions
Quick answers for Jump to Reach the Sky players.
Are these Brainrot tiers based on exact drop rates?
No. Exact drop tables change with updates and are rarely published in full. Tiers rank practical climb priority by rarity feel, height requirement, and progression value. Re-check after major patches.
When should I start hunting S-tier Brainrots?
After you can hold the high band long enough to attempt camps without constant resets. Until then, follow the early-game priority tier: codes, jump spam, Weights, and first platforms.
Do Weights matter more than Brainrots early on?
Yes for most new accounts. Weights and Jump Power unlock the height where rare Brainrots appear. Read Weights and power, then return here once mid and high bands are reachable.
Should I use Power codes while Brainrot hunting?
Use them to break into or stabilize on the height band you are farming—not for idle standing on safe low platforms. Redeem via the ABX menu, then climb immediately.