Jump to Reach the Sky Getting Started Guide
Your first hour: codes, Jump Power, weights, and the first sky platforms.
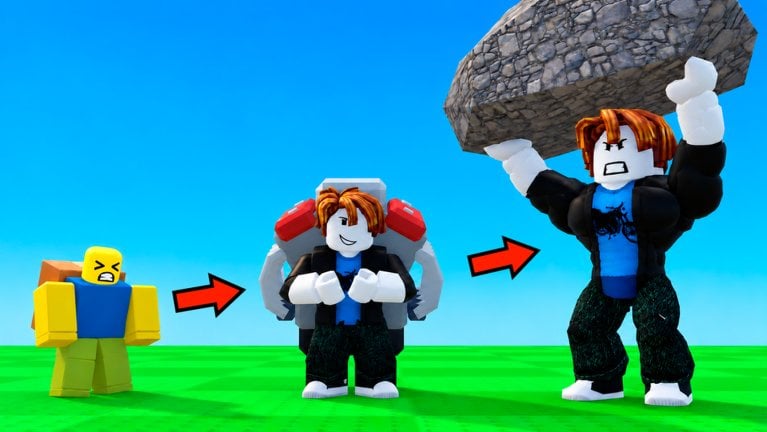
+1 Jump to Reach the Sky! throws you into a simple promise: every jump permanently adds +1 Jump Power. Weights make that growth stronger, floating sky areas open as you climb, and rare Brainrots sit at the highest platforms. This getting-started guide is for your first session — join cleanly, claim codes, understand the loop, and leave with a plan that still works after you log off.
The experience released 17 September 2026 on Roblox from the Reach The Sky! group. It supports PC, mobile, and tablet, with servers capped at six players. Open it from the official Roblox game page and stay on this wiki’s Guides Hub when you need the next deep dive.
Step 1 — Join and settle the UI
Launch the game and wait for your character to load into the starting area. Take ten seconds to spot:
- Your Jump Power readout (it should rise by one with each jump).
- Height or platform cues that tell you how far you have climbed.
- The ABX control in the top-right — that is the codes menu.
- Any on-screen prompt that points toward weights or early platforms.
If buttons feel cramped on a phone, rotate to landscape or lower UI scale in Roblox settings before you start a long grind. Full input notes live on Controls; come back here for the session plan.
Step 2 — Claim codes before you grind
Active codes exist and usually grant timed Power or Money boosts. Redeem them at the start of a session so the timer covers real training or climbing, not loading screens.
- Click ABX in the top-right.
- Type or paste the code exactly (codes are often case-sensitive).
- Redeem and confirm the boost appears.
- Keep the live list on the Codes Hub bookmarked — strings rotate and expire.
Do not invent codes from memory. If a code fails, skip it and move on; the rest of this guide still applies.
Step 3 — Start jumping on purpose
The core loop is intentional spam with awareness:
- Each jump adds +1 Jump Power permanently.
- More Jump Power means higher arcs and access to floating sky areas you could not reach a minute ago.
- Early on, almost every jump is valuable. You are building the baseline that every later system assumes.
Jump in a safe open space first so you learn the feel of your current power. Then aim for the nearest platform or marker that is just out of comfortable reach — that tension tells you when a short training burst will unlock the next height band.
For the full philosophy of spam versus smart climbing, read How to Play after this checklist.
Step 4 — Find weights and train smarter
Weights exist to make you stronger. In practical terms, they improve how efficiently Jump Power and climb attempts pay off compared with naked jumping alone. As soon as you can interact with weights in your starting progression:
- Equip or use them during a focused training window.
- Prefer training while a Power boost from codes is active.
- Alternate short climb checks with weight sessions so you notice when a new platform becomes reachable.
Avoid treating weights as optional flavor. The Weights and Jump Power guide explains boost windows, climb-versus-train decisions, and how temporary Money boosts fund longer sessions.
Step 5 — Understand Jump Power as your permanent spine
Jump Power is not a temporary buff. It is the permanent number that rises with every jump. Temporary Power boosts from codes multiply how fast you feel strong during the timer; they do not replace the +1-per-jump rule. Keep both ideas separate in your head:
- Permanent: +1 Jump Power per jump.
- Temporary: code Power or Money boosts for a fixed duration.
- Training tools: Weights that make sessions more efficient.
When the UI shows a new height threshold, ask: do I need more permanent Jump Power, or am I already strong enough and just need cleaner jumps? That question alone saves a lot of early frustration.
Step 6 — Reach the early sky platforms
Floating sky areas are the vertical roadmap. Early platforms teach spacing, camera angles, and how much Jump Power you still lack. Practical tips for the first climb band:
- Approach from a flat run-up when the platform is sideways from you.
- Use the apex of your jump — release movement inputs that drag you off line.
- If you miss by a small margin, do not rage-climb for ten minutes; drop back, train with weights, and return with a higher permanent number.
- Watch other players in the six-person server for routes, but do not rely on them to “carry” your height — Jump Power is personal.
Once early platforms feel routine, skim the early-game tier list for what to prioritize next, then keep climbing toward zones where Brainrots appear.
Step 7 — Note offline income before you quit
The game grants offline income, so progress does not freeze the second you close Roblox. Before you leave:
- Finish any active code boost productively (train or climb, do not AFK the timer).
- Leave your account in a sensible progression state — you want offline gains to compound what you already unlocked.
- Mentally bookmark the next height goal so your return session starts with intent.
Offline income connects strongly to long-term Brainrot and sky-zone progression. Details and farming mindset are on the Brainrots page.
First-session checklist (copy this)
- Join on a stable connection (PC, mobile, or tablet).
- Open ABX and redeem every working code from the Codes list.
- Jump in a safe area until you feel the +1 Jump Power rhythm.
- Locate and use Weights during a Power boost if one is active.
- Attempt the nearest floating platforms; train more if you miss by a little.
- Skim How to Play and Controls if input or etiquette is unclear.
- Before logout, note offline income and your next height target.
- Later, open Weights and Jump Power, Brainrots, and early-game tiers as goals expand.
Common first-hour mistakes
- Skipping codes — free timed Power and Money boosts are easiest to waste by redeeming them with no plan.
- Climbing with no training — missing the same ledge repeatedly usually means you need more Jump Power or better weight use, not more hope.
- Ignoring the six-player cap — busy pads can feel chaotic; give jump space and avoid blocking spawn-adjacent platforms.
- Quitting mid-boost — if a ten-minute Power boost is running, spend it on jumps and weights.
- Forgetting offline income — short, focused sessions still advance the account between logins.
Where to go next on this wiki
- How to Play — full loop, UI reading, multiplayer etiquette, mobile tips.
- Weights and Jump Power — efficiency, boost windows, climb vs train.
- Brainrots — why the highest areas matter and how farming ties to offline income.
- Codes — current ABX strings and rewards.
- Early-game tier list — early priorities ranked.
- Controls — input reference for your device.
Stick to this getting-started path for the first session, then let Jump Power, weights, and height goals pull you into the deeper guides. The sky only opens as fast as your permanent jumps allow — start counting them now.
Frequently Asked Questions
Quick answers for Jump to Reach the Sky players.
What should I do in the first five minutes?
Join, open ABX in the top-right, redeem working codes from the Codes Hub, then start jumping so Jump Power begins climbing permanently. Look for weights as soon as they are available.
Do I need weights right away?
Yes as soon as you can use them. Weights make training stronger than raw jumping alone. Pair them with a Power boost from codes when possible.
Why am I missing early platforms?
You likely need more permanent Jump Power or cleaner jump timing. Train with weights, then retry instead of spamming the same failed ledge for a long stretch.
Does progress stop when I log off?
No. Offline income continues between sessions. Finish active boosts productively, then leave with a clear next height goal for when you return.
Where are the live codes listed?
On the Codes Hub. Redeem in-game through ABX; this getting-started page only tells you to claim them at the start of a session.